So, you've just installed Dolibarr ERP/CRM—congratulations. Whether you chose to go with a cloud-based provider like DoliCloud, a Softaculous one-click install, or a fully manual setup on your own server, you're now looking at a clean dashboard full of potential. But installing Dolibarr is just the beginning. What comes next can determine whether you build a solid, scalable ERP system—or get lost in configuration overwhelm.
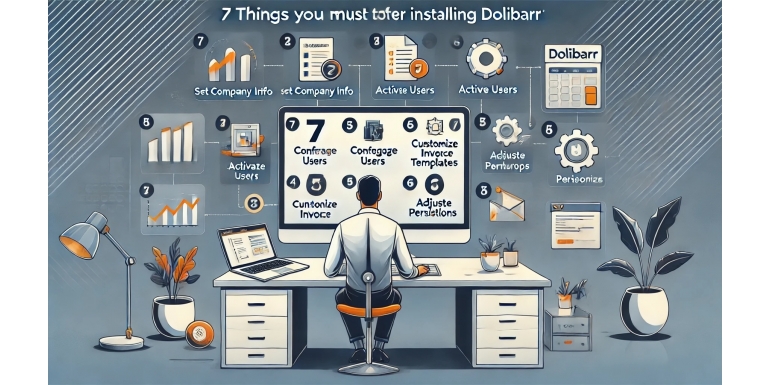
To help you make the most of your new setup, here are seven critical things you should do right after installing Dolibarr. These aren't just tips—they’re essential practices that ensure your system is secure, efficient, and aligned with your business needs.
1. Set Up Your Company Profile Correctly
Before doing anything else, navigate to Home > Setup > Company/Organization. This is where you define who you are within the Dolibarr system.
Key fields to complete:
-
Company name and legal structure
-
Logo (for invoices and proposals)
-
Address, city, country, phone, and email
-
Default language, currency, and fiscal year start
-
VAT or sales tax configurations
Setting this information properly from the start ensures that every document generated—quotes, invoices, shipping notes—will carry the right branding and legal info.
Tip: If you operate in multiple countries, take advantage of Dolibarr's multilingual support and currency handling.
2. Activate Only the Modules You Need
One of Dolibarr’s greatest strengths is its modular architecture. That also means it's easy to get overwhelmed by activating everything at once.
Recommended base modules:
-
Third Parties: Manage clients and suppliers
-
Products/Services: Define what you sell
-
Invoices/Proposals/Orders: Your core commercial workflows
-
Bank and Cash: Monitor and reconcile payments
-
Projects and Tasks: Track work and deadlines (if applicable)
Avoid overloading your system. Start lean, and only activate additional modules like stock management, HR, or accounting when you actually need them.
To enable modules: go to Home > Setup > Modules and click "Enable" on the ones you plan to use.
3. Configure User Roles and Permissions
Even if you’re the only user right now, setting up roles and permissions from day one helps establish a secure and scalable system.
User roles to consider:
-
Admin (full access)
-
Sales (access to proposals, invoices, contacts)
-
Accounting (access to payments, reports)
-
HR (access to employee records)
To set roles:
-
Go to Users & Groups > New User
-
Define login credentials
-
Assign specific permissions via checkboxes for each module
Security Tip: Never give admin access to users who don't absolutely need it. Set passwords with at least 12 characters and enable password change policies.
4. Customize Document Templates
Dolibarr allows full customization of PDFs for invoices, quotes, delivery notes, etc.
Customization points:
-
Upload your company logo
-
Add footer text with legal or payment instructions
-
Choose among different template styles (e.g., Crabe, Azur, Ocean)
-
Adjust margins and font size for better layout
To start, visit Home > Setup > Modules > PDF and choose the module whose templates you want to edit.
This step ensures that all client-facing documents are professional and on-brand, which builds trust and consistency.
5. Define Default Tax Rates and Payment Terms
Dolibarr supports complex tax and accounting scenarios, but it’s essential to define your defaults early to save time.
Set your defaults under:
-
Home > Setup > Dictionaries > VAT rates
-
Home > Setup > Dictionaries > Payment terms
Define:
-
National and international VAT rates
-
Payment deadlines (e.g., Net 30, Cash on Delivery)
-
Discount policies if applicable
These will automatically populate on invoices and orders, reducing errors and manual entries.
6. Set Up Email Configuration
If Dolibarr can't send emails, it can't function effectively as a CRM. Setting up outgoing email is essential.
Configure SMTP settings via:
-
Home > Setup > Email
Input:
-
SMTP server
-
Port (often 587 for TLS or 465 for SSL)
-
Authentication credentials (email address and password)
Once configured, test email delivery. Many businesses also use services like SendGrid, Mailgun, or their web hosting provider’s SMTP to manage reliability.
You can then automatically send:
-
Invoices
-
Quotes
-
Payment reminders
-
Notifications for late payments or task updates
7. Backup and Security Settings
You’ve done the hard work to set up Dolibarr—now make sure you don’t lose it.
Set up regular backups:
-
Use cron jobs if you're self-hosting
-
Export the database weekly or daily
-
Back up the
/documentsfolder
If you’re using DoliCloud or another managed service, verify that backups are handled and retrievable.
Secure your installation:
-
Use HTTPS with a valid SSL certificate
-
Change default admin login credentials
-
Set session timeout and automatic logout
For added protection, consider installing Dolibarr behind a VPN or using two-factor authentication plugins if available.
Final Thoughts
Installing Dolibarr is only the first step in modernizing your business operations. What you do next is what matters most. From setting up your company identity to configuring key modules, permissions, and security protocols—each decision you make post-installation sets the foundation for reliable and efficient business management.
Dolibarr is powerful, but it rewards structure and planning. By following these seven steps, you're giving yourself a huge advantage: cleaner workflows, fewer errors, and a system that grows with your business.
So before jumping into customer quotes or stock entries, make sure you’ve locked down the basics. Once these essentials are in place, you’ll be surprised how quickly Dolibarr becomes a core part of your daily operations.
