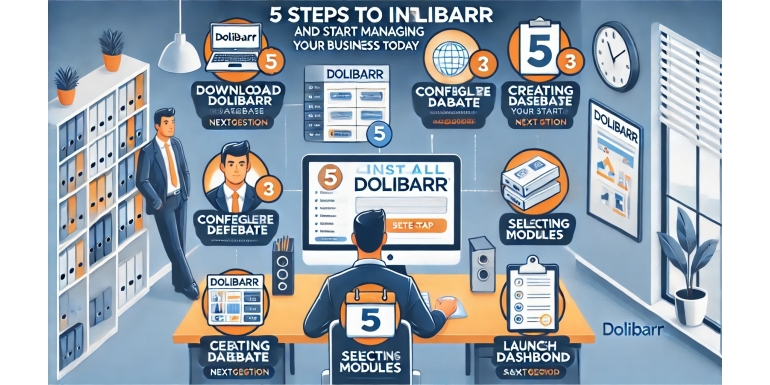
Running a business without the right tools can lead to disorganization, missed opportunities, and wasted time. Dolibarr ERP/CRM is a free, open-source solution that helps small businesses manage clients, finances, inventory, sales, and more — all from one central dashboard. The best part? You don’t need a tech background to get started.
This in-depth guide breaks down the installation and initial setup of Dolibarr into five clear steps. Whether you’re managing a startup, freelance gig, or growing team, these steps will help you install Dolibarr and begin managing your business efficiently today.
Step 1: Choose Where to Install Dolibarr
Before you can start using Dolibarr, you need to decide where to install it. There are three main options:
Option A: Cloud Hosting (easiest for beginners)
Use Dolibarr-as-a-Service providers like DoliCloud, which offer fully hosted environments. No installation, no maintenance.
-
Pros: Fast setup, secure, managed updates
-
Cons: Monthly or yearly fees
Option B: Shared Hosting (Softaculous)
Many shared hosting providers support one-click installs via Softaculous. Look for providers with cPanel access.
-
Pros: Inexpensive, minimal technical setup
-
Cons: Performance limitations for large data sets
Option C: Local Installation (Self-hosted)
For full control or offline use, install Dolibarr on your own system or server (e.g., using XAMPP, WAMP, Linux, or Raspberry Pi).
-
Pros: No recurring costs, customizable
-
Cons: Requires basic server knowledge
Tip: Start with Option A if you want zero hassle. Go with Option C if you’re comfortable managing your own system.
Step 2: Install Dolibarr (Depending on Your Choice)
A. Using DoliCloud or Similar Hosts
-
Visit the provider’s website.
-
Register and choose a plan.
-
Access your Dolibarr instance via your browser.
No need to install anything. You’ll get immediate access to your dashboard.
B. Using Softaculous (Shared Hosting)
-
Log into your cPanel dashboard.
-
Find Softaculous Apps Installer.
-
Search for “Dolibarr”.
-
Click “Install Now”.
-
Choose domain, set admin credentials, and click “Install”.
Done. Dolibarr is ready on your webspace.
C. Manual Installation (Self-Hosted)
If you're installing Dolibarr manually on your computer or server:
-
Install a web server environment (e.g., XAMPP, LAMP).
-
Download the latest Dolibarr package from Dolibarr.org.
-
Unzip and move it to your web server’s directory (e.g.,
/htdocsor/var/www/html). -
Create a MySQL/MariaDB database.
-
Open the Dolibarr folder in your browser and follow the setup wizard.
The wizard will guide you through language selection, system check, database config, and admin account setup.
Step 3: Basic Configuration
After installation, you’ll land on your Dolibarr dashboard. Before using the system, take time to configure the basics.
Company Profile
Go to Home > Setup > Company/Organization:
-
Add your business name, logo, and contact info
-
Set time zone, default currency, and tax settings
Module Management
Dolibarr’s strength lies in its modularity. Activate only what you need:
-
Third Parties: Manage clients and suppliers
-
Products/Services: Create your product catalog
-
Invoices/Quotes: Generate professional documents
-
Bank/Cash: Track payments and financials
-
Projects: Organize tasks and timelines
Tip: Avoid activating all modules at once. It’s better to expand as your needs grow.
Step 4: Add Your First Business Data
Once your base system is ready, begin populating it with real data.
Create Clients and Suppliers
-
Navigate to Third Parties > New Third Party
-
Choose type (customer, supplier, or both)
-
Fill in contact, address, and optional fields
Add Products or Services
-
Go to Products/Services > New Product
-
Choose product or service
-
Enter description, price, and tax info
Issue Your First Invoice or Quote
-
Go to Commercial > New Proposal or New Invoice
-
Select client, add products, and customize terms
-
Preview and generate PDF
Set Up Bank Accounts
-
Use Bank > New Account to track incoming and outgoing payments
Bonus: Customize document templates in Setup > Modules > PDF to reflect your brand.
Step 5: Go Live and Manage Your Business
Your system is now live — time to use Dolibarr to run your day-to-day operations.
Daily Operations
-
Track leads and contacts with CRM module
-
Send invoices and monitor payments
-
Manage stock, orders, and deliveries
-
Monitor project progress and assign tasks
User Management
-
Add staff with appropriate roles and permissions
-
Use Setup > Users & Permissions
Backups & Security
-
If self-hosted, back up your database regularly
-
Use strong passwords and HTTPS
-
Enable audit logs for user activity tracking
Reporting
-
Use built-in reports for:
-
Sales
-
Customer activity
-
Financial performance
-
-
Export to CSV or PDF as needed
Tip: Review reports weekly to stay on top of your business.
Final Thoughts
Dolibarr isn’t just another business tool — it’s a full ERP and CRM suite that brings structure and automation to your business. Whether you’re managing sales, inventory, or customer relationships, Dolibarr grows with your needs.
With just five clear steps, you can install and configure Dolibarr today. No tech team required. Once running, you’ll gain insights, save time, and operate more professionally.
If you’re ready to stop juggling spreadsheets and disconnected apps, it’s time to embrace an all-in-one solution. Dolibarr is open, flexible, and ready to empower your business.
