Introduction
Dolibarr ERP/CRM is a popular open-source business management solution known for its simplicity and modularity. Whether you are a small business, a sole entrepreneur, or a large company, Dolibarr allows you to manage your operations efficiently: invoicing, inventory management, customer contacts, and much more.
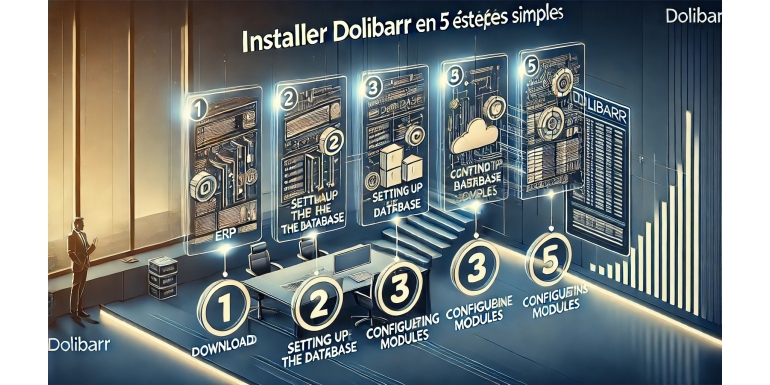
In this article, we will guide you step-by-step to install Dolibarr in just 5 simple steps.
Table of Contents
- Requirements for Installing Dolibarr
- Download Dolibarr
- Create a Database
- Install Dolibarr via the Browser
- Final Configuration
- Conclusion
1. Requirements for Installing Dolibarr
Before starting the installation, make sure you have the following:
Hardware and Software Requirements
- A web server compatible with Apache, Nginx, or IIS.
- PHP (version 7.2 or higher recommended).
- Database: MySQL, MariaDB, or PostgreSQL.
- FTP or SSH access to upload files to the server.
- A modern web browser (Chrome, Firefox, Edge, etc.).
For Local Installation
If you want to install Dolibarr locally for testing purposes, tools like XAMPP, WAMP (Windows), or MAMP (macOS) are recommended.
2. Download Dolibarr
Download from the Official Website
- Go to the official Dolibarr website: https://www.dolibarr.org.
- Click "Download" to get the latest stable version of Dolibarr.
- Choose the installation file in .zip or .tar.gz format according to your needs.
Upload Files to the Server
- For local installation: Unzip the downloaded file into the htdocs folder (for XAMPP/WAMP).
- For remote server: Use an FTP client like FileZilla to upload the contents of the archive to your website directory (e.g.,
/var/www/html/dolibarr).
3. Create a Database
Steps to Create a MySQL/MariaDB Database
- Log in to phpMyAdmin or your database management interface.
- Click on "New Database".
- Name the database (e.g.,
dolibarr_db). - Choose the encoding utf8_general_ci to ensure character compatibility.
- Create a user with the necessary permissions for this database.
Note: Save the database name, user, and password, as they will be needed during the installation.
4. Install Dolibarr via the Browser
Launch the Installation Script
- Open your browser and go to the following URL:
- For local installation:
http://localhost/dolibarr/htdocs - For remote server:
http://your-domain.com/dolibarr/htdocs
- For local installation:
- Dolibarr will automatically display the installation wizard.
Steps of the Installation Wizard
- Language Selection: Choose the installation language (e.g., English).
- Check Requirements: Dolibarr will check if your server meets the necessary requirements. If everything is green, proceed to the next step.
- Database Settings:
- Database Type: MySQL/MariaDB.
- Server Name:
localhost(or your server address). - Database Name:
dolibarr_db(or your chosen name). - User and Password.
- Create Tables: Dolibarr will automatically create the necessary tables in the database.
- Administrator Account:
- Create a login and password for the administrator.
Click "Next" until the process is complete.
5. Final Configuration
Access Dolibarr
- Once the installation is complete, access the login interface:
- For local installation:
http://localhost/dolibarr/htdocs - For remote server:
http://your-domain.com/dolibarr/htdocs
- For local installation:
- Log in with the administrator account you created earlier.
Initial Setup
- Configure Company Settings:
- Go to "Home" > "Setup" > "Company/Organization".
- Enter your company’s information (name, address, logo, etc.).
- Enable Necessary Modules:
- In "Home" > "Setup" > "Modules/Applications", activate the modules you need (invoicing, CRM, inventory management, etc.).
Secure the Installation
- Delete the
/installfolder to secure your Dolibarr:- For local installation: Delete
htdocs/install. - For remote server: Delete the folder via FTP or SSH.
- For local installation: Delete
Conclusion
Congratulations! You have successfully installed Dolibarr in 5 simple steps. You can now start configuring your modules and using Dolibarr to manage your business operations.
Dolibarr is a powerful solution that continues to evolve. Feel free to check the official documentation to discover all the available features.
Need help or additional advice? Leave a comment or explore the Dolibarr community forums!
